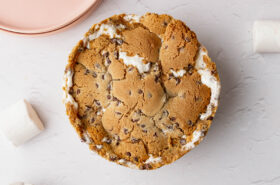
I almost ate all of these salted caramel cake pops before I had a chance to photograph them. They’re that good. When Carr’s Flour kindly gifted me their new luxury cake mixes, it got me thinking about all the ways I could use them. They have five amazing flavours, but one in particular stood out to me for this bake: the sumptuous salted caramel cake mix. With real caramel pieces and a super simple “throw it all in one bowl” approach, these mixes make for the most luxurious of cake pops.
How can I make these salted caramel cake pops even more luxurious?
The beauty of a pre-made cake mix is that it’s quick to make with easy-to-find ingredients. While you can choose to use oil or water in this recipe, I prefer to enhance the flavours as follows:
- Use full fat or whole milk instead of water. The creamy taste in milk is essentially a bunch of little fat molecules which gives your cake a fuller flavour and better texture.
- Use high-quality unsalted butter instead of oil. I’m personally a huge fan of Kerrygold Unsalted Butter, which is high in beta-carotene (giving it that signature yellow colour) and one of the most beautiful supermarket butters you can find!
- Choose the very best eggs. Always, always use free range eggs in your baking. I choose Clarence Court Burford Browns since their eggs are laid by chickens who eat a vegetarian diet which includes corn to enrich the egg yolks.
- Dip them in luxury chocolate. The first flavour to hit your tongue will be the white chocolate coating. Menier’s Swiss White Cooking Chocolate or Valrhona’s Ivoire White Baking Chips make for a decadent finish.
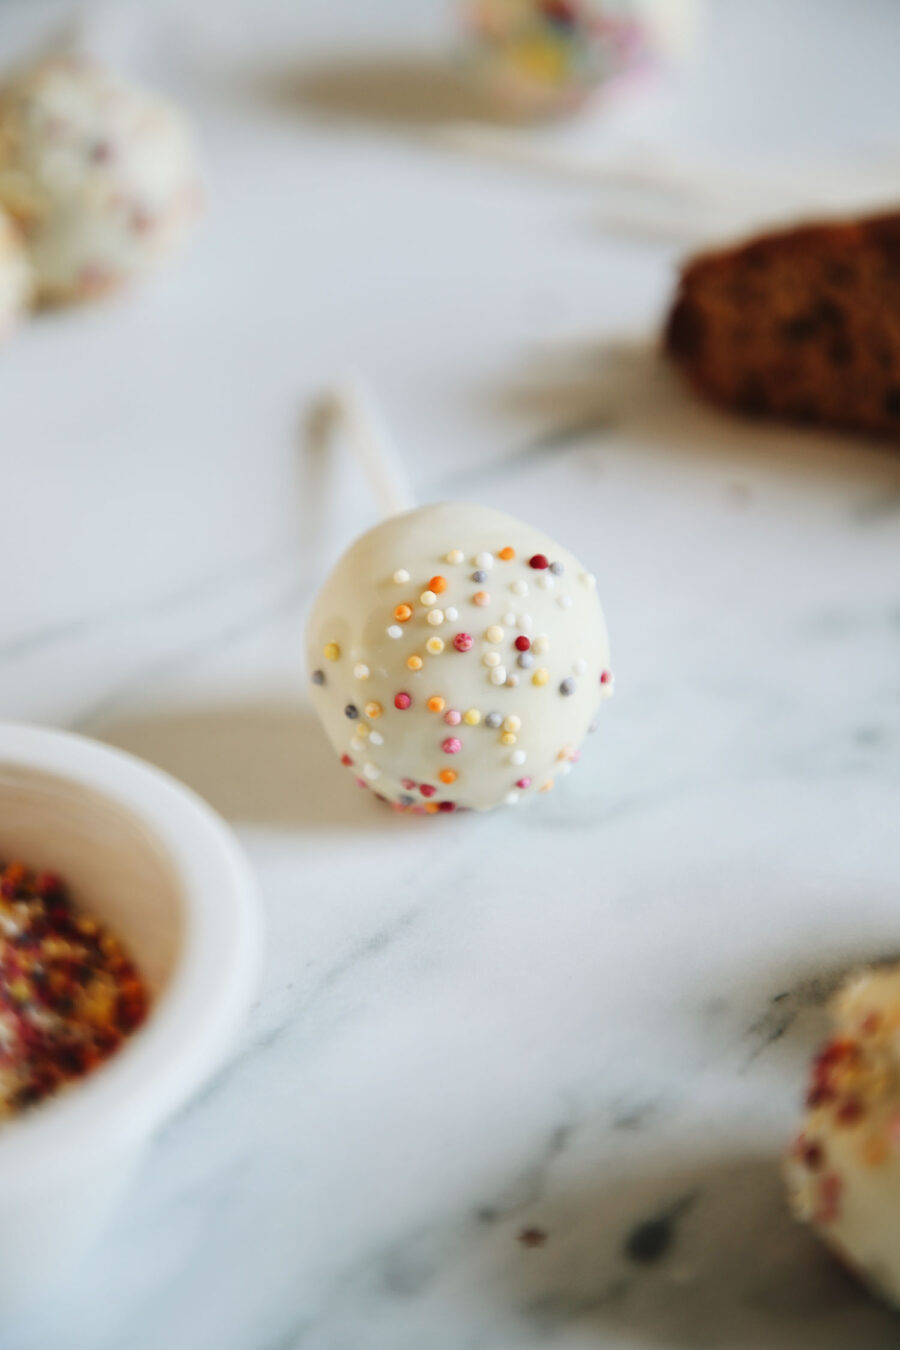
- Sprinkle them with something fun! I love Sweetapolita for unusual sprinkles, but 100s and 1000s or freeze-dried raspberries would work beautifully with these too.
- What if I want to colour them? If you want to keep them classic, stick with white and one other colour (like pink or teal). Colour Mill do fabulous food colourings in beautiful shades that I’d highly recommend.
Top tips for making the perfect salted caramel cake pops:
If you’ve ever made cake pops in the past and struggled with them falling off the sticks, or generally being a sticky mess – fear not! I’ve got you covered with the very best tips on making the most amazing cake pops of your life:
- Refrigerate your cake pops before you do anything else with them. Once you’ve rolled them into balls, pop them on a plate and refrigerate them for at least one hour. That way they’ll firm up and you can then roll them between your hands to properly shape them before inserting the sticks.
- Dip one end of your stick in the melted chocolate before inserting them into your cake pops. This is super important – mainly to ensure your stick “sticks” to the inside of your cake pop. Dip one end of the stick in chocolate, then insert it into the centre of your cake pop, pushing it as far in as it can go, without it coming out the other side.
- Refrigerate again! Place your cake pops on a plate, sticks pointing upwards and pop in the fridge for another hour. You want your cake pops to firm up on the stick before coating them in chocolate. This means you won’t have cake pops falling off their sticks and into your melted chocolate.
- Use a box to stand your cake pops in once dipped. Do this BEFORE you start dipping! Grab a cardboard box and make small incisions in it 1 inch apart with a sharp knife or scissors. You want the slits big enough to fit a stick through but not so they’ll fall down into the box.
- Allow your chocolate to cool slightly before dipping your cake pops. If the chocolate’s too hot, it’ll simply cause a melted mess. Be patient – leave it to cool before dipping, turning and coating your cake pops in chocolate, then pierce your sticks into the box to sprinkle, stand and cool.
What do I need to make these salted caramel cake pops?
There are only a few key pieces of equipment you’re going to need before embarking on this recipe. Here’s what they are:
- Two 9-inch cake tins. This is to bake your cake mix in.
- Lollipop sticks. Find these on Amazon here.
- An old cardboard box. A super cheap way to hold your cake pops as they’re drying!

Salted Caramel Cake Pops
Ingredients
For the cake
- 1 box Carr's Flour Sumptuous Salted Caramel Cake Mix
- 3 large eggs I like Clarence Court Burford Browns
- 100 g unsalted butter I like Kerrygold
- 100 ml full fat / whole milk
For the buttercream
- 130 g unsalted butter I like Kerrygold
- 280 g icing sugar sifted
- 3-4 tbsp double cream or whipping cream
- 1 tsp vanilla bean paste or extract
For the chocolate coating
- 500 g white chocolate I like Menier or Valrhona for good quality chocolate
- Sprinkles of your choice to decorate
Instructions
- Make the salted caramel cakes as per the instructions on the box, swapping the water for milk, the oil for butter and ensuring you use good quality free-range eggs.
- Once the cakes have baked, remove from the oven and leave to cool in the tins for 10 mins then turn out onto a wire rack to cool completely.
- In the meantime, make your buttercream frosting by whipping the butter until pale and creamy. Sift in your icing sugar, add 3tbsp of double cream and your vanilla extract then whisk again for 3-5 minutes until everything is properly combined.N.B. If you feel it needs an additional 1tbsp of double cream then feel free to add this in and whisk once more.
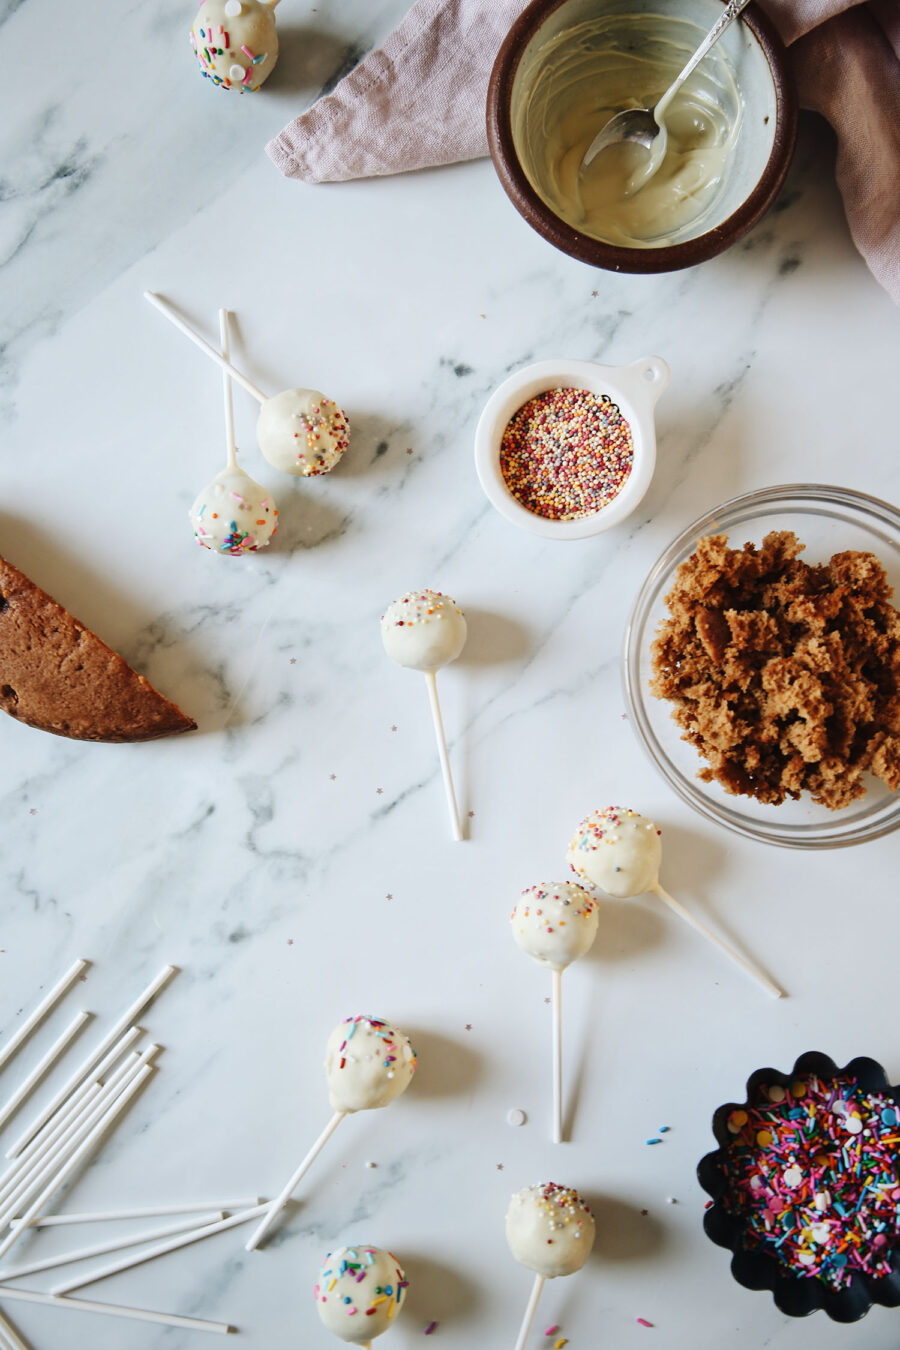
- Crumble the cooled cake into the bowl of frosting, making sure there are no large lumps. Turn the mixer on low and beat the frosting and cake crumbles together until combined. N.B. You can also do this by hand with a wooden spoon and some elbow grease!
- Measure 30g of the mixture and roll it between the palm of your hands into a ball. Place on a plate and repeat with the rest of the mixture, then refrigerate all the balls for at least 2 hours.
- Place 100g of the white chocolate in a bowl big enough to rest on top of a saucepan filled with 2 inches of water. The water mustn't touch the bottom of the bowl. Place the saucepan on the hob and heat until the chocolate has completely melted.
- Take approximately 2-3 cake balls from the refrigerator at a time, then dip the lollipop stick about 1/2 inch into the coating and insert into the centre of the cake ball, pushing it about half way in. Place these cake balls (with the sticks pointing upwards) on a new plate to go back into the fridge for 1 hour. This ensure the sticks are firmly adhered to the cake pop before you start coating them in chocolate.
- Prepare your cardboard box by making small incisions in it about 2 inches apart using a sharp knife or scissors. You want these slits to be big enough to fit the lollipop stick through but not so big that they'll fall into the box with the weight of the cake pop.
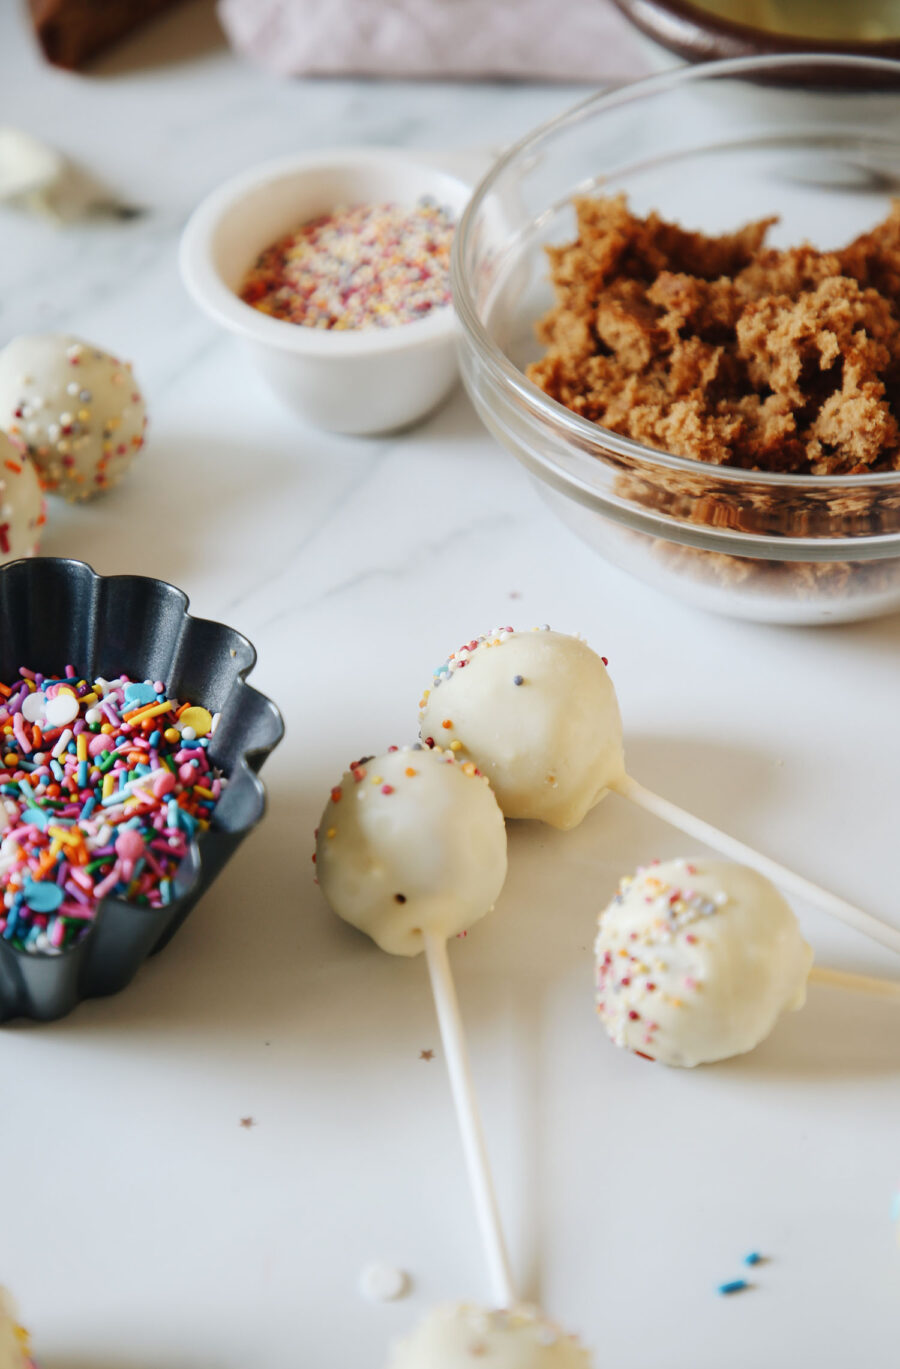
- When ready, melt the remaining 400g of chocolate and set aside to cool. Remove the cake pops from the fridge, again only 2-3 at a time. Dip each ball into the chocolate until it's completely covered, using a spoon to evenly coat them and ensuring the coating covers the base of the cake ball where it meets the lollipop stick. Hang the cake ball upside down, gently moving it from side to side to get rid of any excess chocolate.
- Slot each stick into the slits of your prepared cardboard box, then sprinkle the tops with 100s and 1000s or other sprinkles of choice. Repeat with remaining cake balls, only working with some out of the refrigerator at a time. You want them really cold when dipping!
- Leave to set for 1 hour, then store in the fridge for up to 1 week.
Notes
Subscribe to my coffee chats
Subscribe to my bi-monthly newsletter for exclusive recipes, as well as early access + discounts to newly launched workshops and e-courses. You can unsubscribe at any time.